Start here: setting up Képesbolt from scratch
Képesbolt is constantly evolving, so you may see new settings in the interface that are not yet shown in this video or the images.
Last updated:
Video coming soon
This guide walks you from sign-up to your first order. Follow the steps in order and you'll end up with a working online shop where your customers can view and order their photos. Each step links to a detailed guide if you want to dig deeper.
1. Sign up
- Go to kepesbolt.hu and click Sign up.
- Enter your name, email address, a password and your studio name. Your studio name becomes your shop name, and your customers will see it.
- Accept the terms and click Create account.
- Check your inbox for a confirmation email and click the link in it.
- Log in with your email address and password.
No email? Check your Promotions and Spam folders too.
2. The five getting-started steps
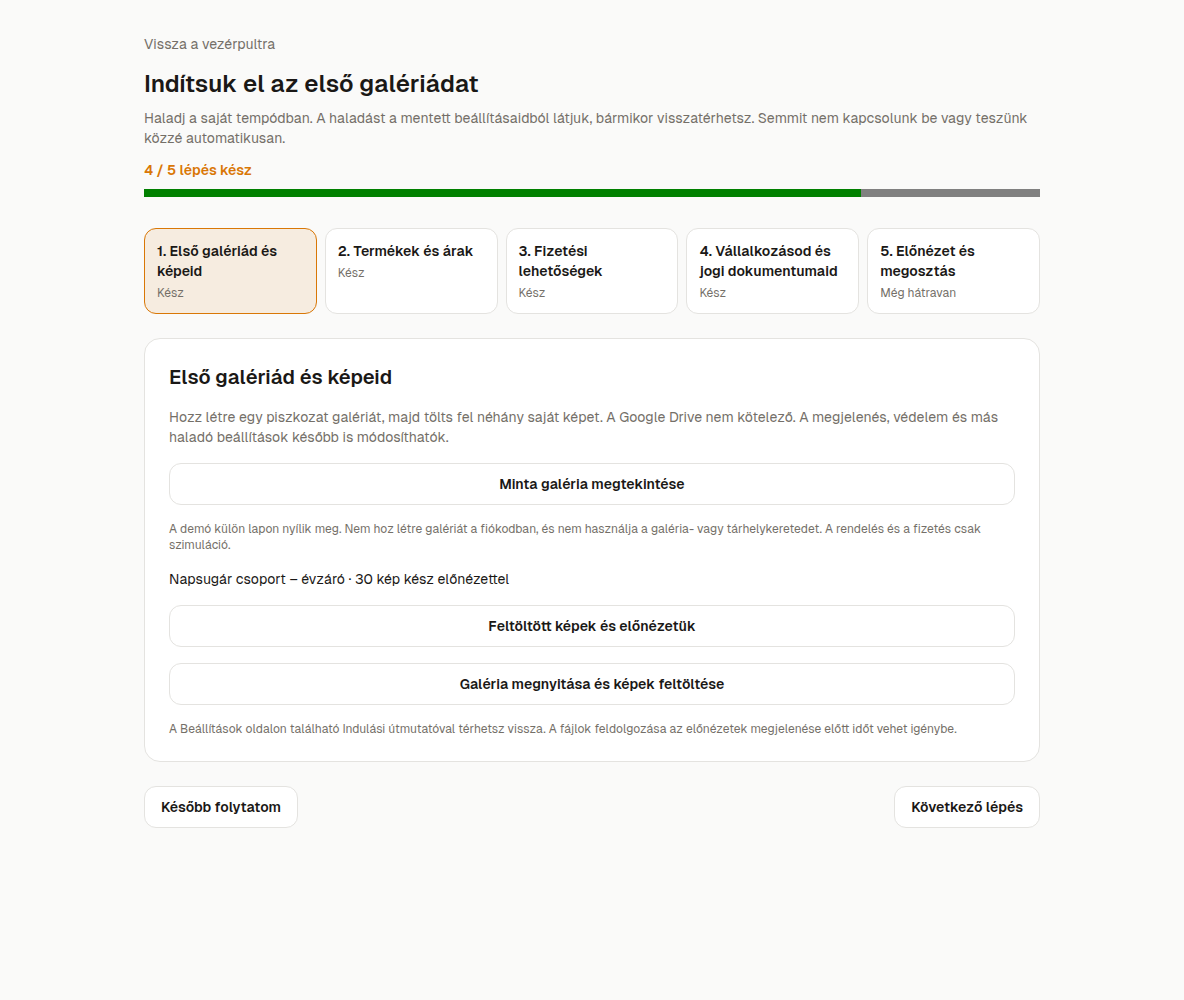
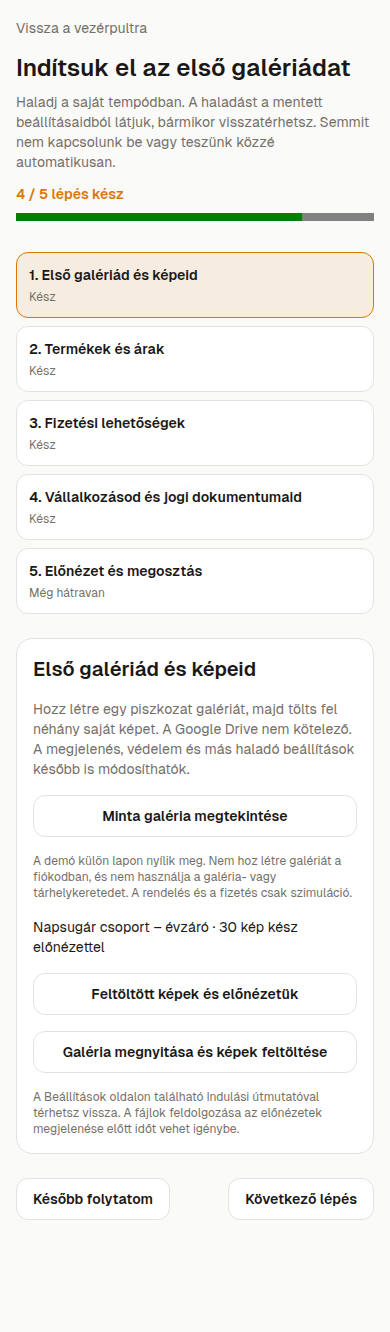
After you log in, the Getting started page walks you through five steps. You can come back to it later under Settings → Getting started guide. Képesbolt doesn't switch anything on or publish anything for you: your shop becomes visible when you share it.
| # | Step | What you do here |
|---|---|---|
| 1 | Your first gallery and photos | Create a gallery and upload your photos |
| 2 | Products and prices | Add what customers can order, and at what price |
| 3 | Payment options | Set up how customers pay. You can also connect invoicing separately |
| 4 | Your business and legal documents | Enter your legal details; the default terms and privacy templates use them |
| 5 | Preview and sharing | View the gallery as a customer and share the link |
If you keep your photos on Google Drive and your plan includes it, you can connect it separately. It is optional. See the Storage and Google Drive guide for details.
3. Your first gallery
- In Photo galleries, create a new gallery and give it a name.
- Upload your photos. If your plan includes your own Google Drive, you can pick a Drive folder instead.
- Wait for the previews to finish generating.
- Choose which products and packages can be ordered from the gallery.
- If your photos fall into natural groups (for example class, family or location), organise them into photo groups. See: Photo groups.
4. Legal details, right before you publish
This is the fourth getting-started step, right before you share your shop. Képesbolt asks for legal details used by the default terms and privacy templates. Review and adapt the templates to your actual operations; they do not replace legal review.
- Enter your name or company name, registered address, registration or company number, tax number and an email address. These already appear on your invoices.
- For the three additional questions (photo retention period, invoicing software, lab or courier), the form may suggest a default for missing details. Check that the answers match your operations and change them if needed; saved values and the active invoicing provider are retained.
- Save. Your customers will then see the documents.
You can change these details later under Legal documents: the default template uses the saved values. Custom text and external links do not update automatically; review them separately.
5. Preview, sharing and your first order
- Preview the gallery, publish it, and share the link with your customers.
Before your first real customer, it's worth trying an order yourself:
- Open the gallery as a customer and add a photo to the cart.
- Complete the order with a payment method you've already set up (for example bank transfer).
- The order appears under Orders. From there you track payment, production and delivery.
Tip: before your first real customer, place a test order using your own email address. That way you'll see exactly which emails the customer receives, and you can confirm everything is set up correctly.
What's next?
- Packages let you offer several products for one price. See: Packages.
- The Orders guide explains how to handle unpaid and duplicate orders.
- If you get stuck, use the search bar at the top of the help centre, or contact us with the Can't find it? Write to us button.